Depending on the complexity of a mural design, the unique wall texture, surrounding environment, etc. I may approach a mural project differently each time. For my stained glass series, the designs are all super intricate and so they all follow the same approach. See below.
STEP 1 - create a design
I like to use Procreate on my iPad Pro to draw out my mural designs. It's super easy to use, erase, change colours etc. After the design is created, I mock it up in Photoshop so the client can envision the piece in its real environment.
Design made in Procreate on my iPad Pro

Mock up in client’s home using Photoshop
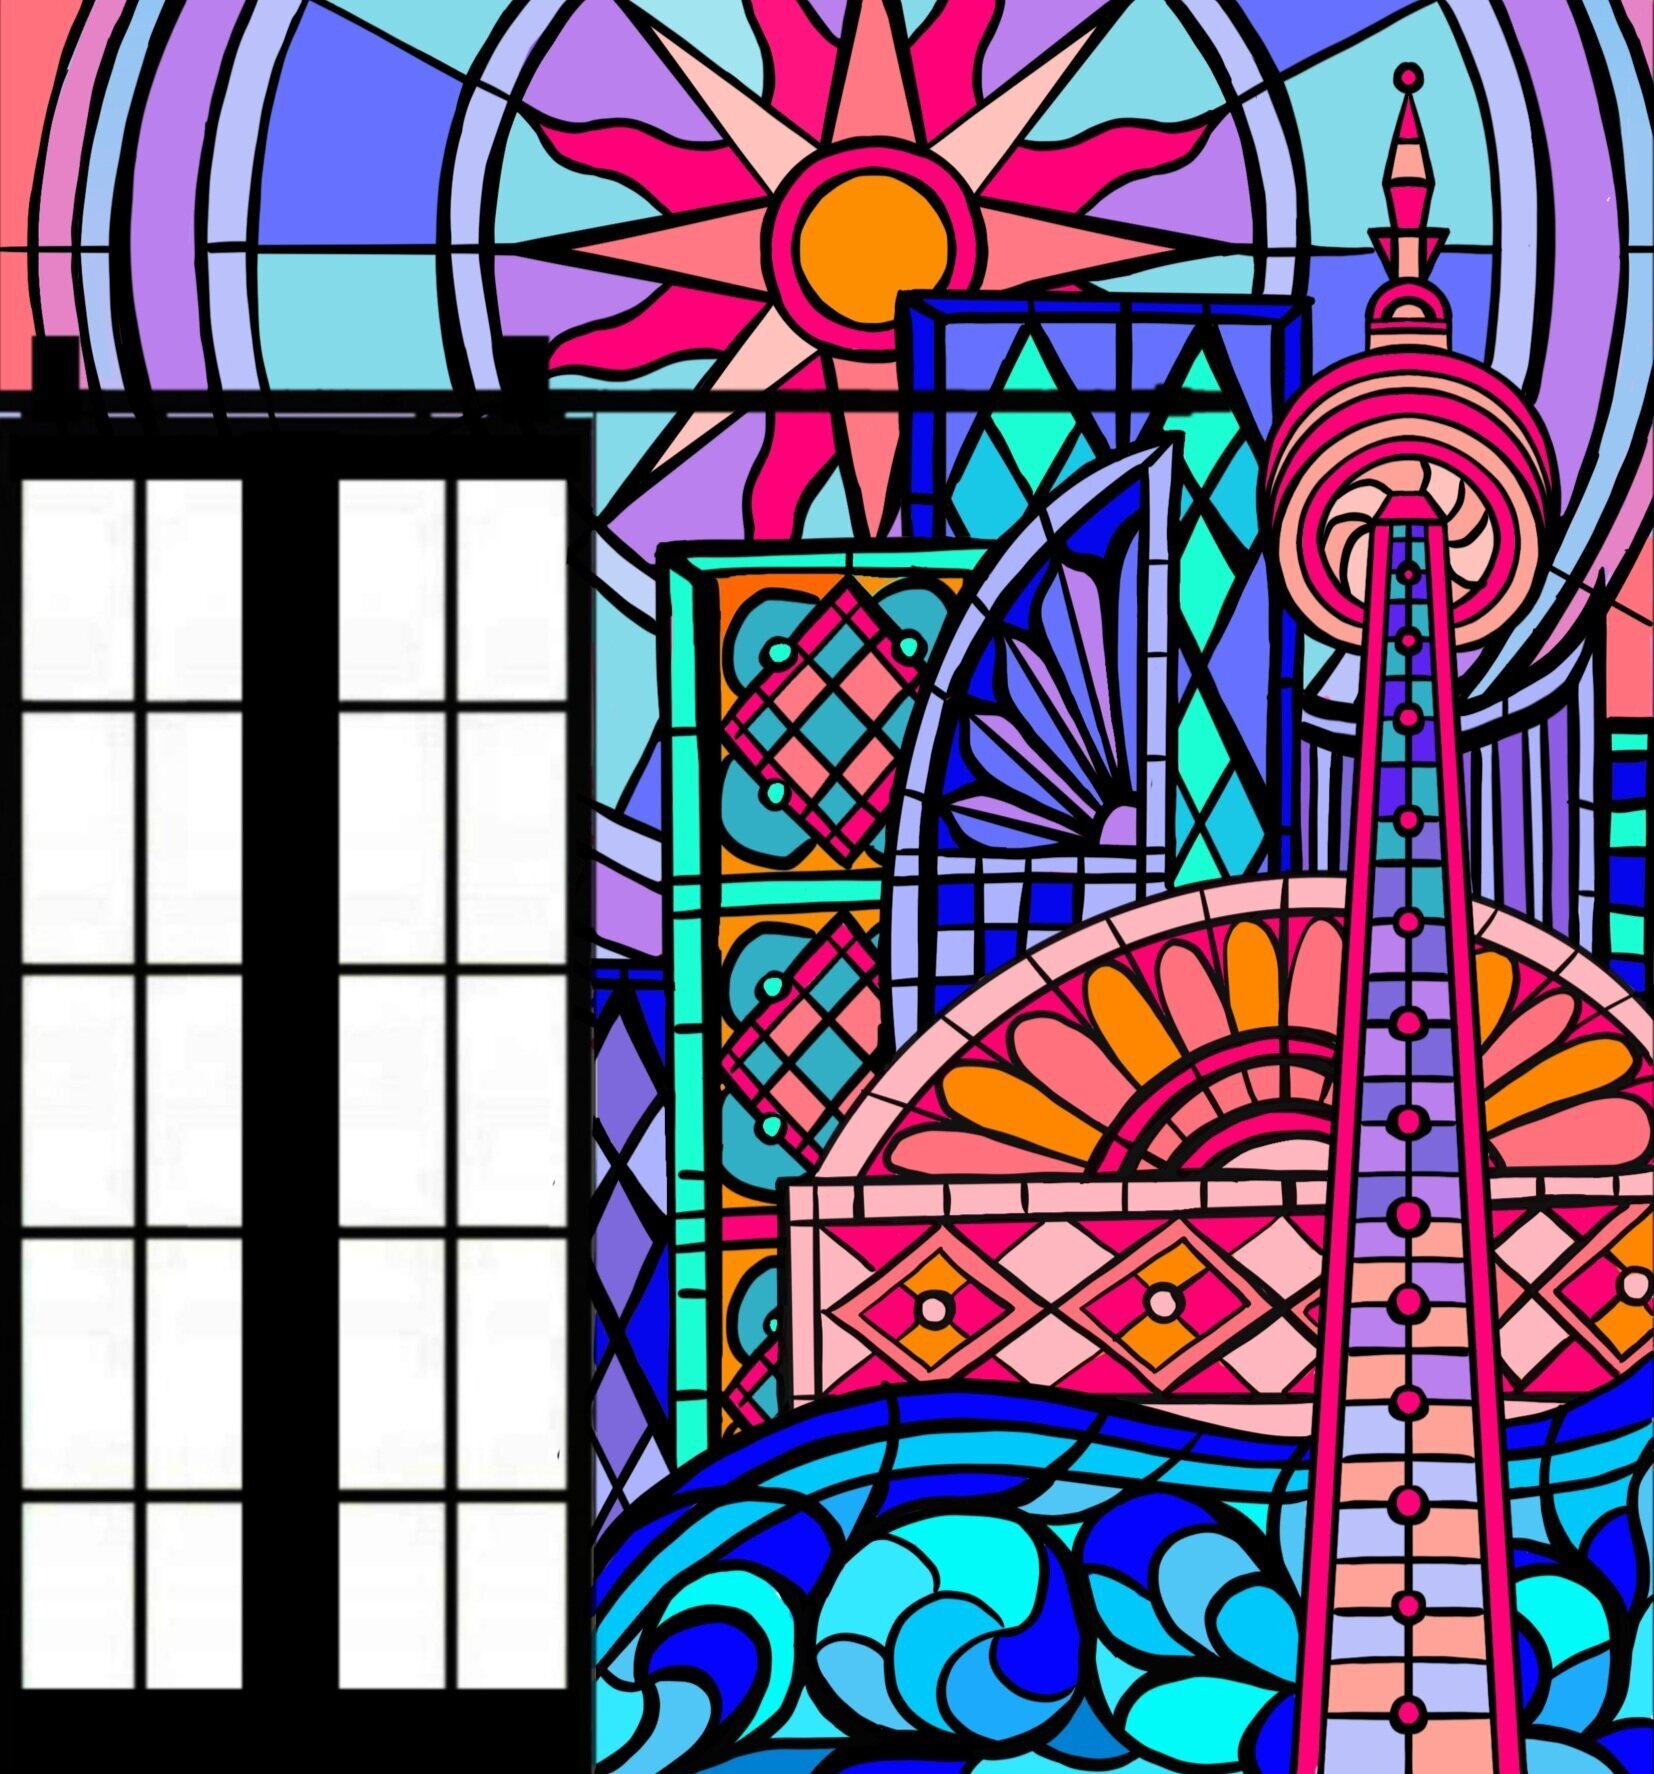
A CITY IN COLOUR
Inspired by "Tower of Glass", a utility box I painted for Street ARToronto last June, this design brings the Toronto waterfront and skyline to life. Can you recognize the buildings? (besides the CN tower)


Step 2 - Math time
This is my least favourite part of painting a mural HOWEVER it is super important. I create a grid and divide up my design, depending on the measurements of the wall itself. (Here there are 1 sq. foot sections)
Step 3 - PREP THE AREA
Prepare the area. Clean the wall, tape the wall's many edges and any extra pieces that you don't want to get paint on, lay down a drop cloth, etc. (I am a messy painter so I like to use extra tape around the space which saves me time in the end)
Step 4 - Design transfer
Using a level, I recreate my grid on the wall, same as my plan now in a large scale. Next, I draw the design using the gridded sections as a guide. I like to use chalk because pencil lines will show through the paint, whereas chalk can be washed off easily.
(Projectors are wonderful for this step, but in this particular case the hallway was only a few feet away from the other side and so the image couldn't be projected large enough)


Mural TIP:
In order to make a perfect circle, use a piece of string and chalk. Tape down one end of the string to the centre of your circle. Attach the opposite end of the string to a piece of chalk, however long you want the radius of the circle to be. And then draw a circle freely, making sure the string is pulled tightly on both ends. MAGIC.
Step 5 - Paint, paint, paint
For this interior mural, I used a mix of interior and exterior acrylic paint, however for the outdoor murals, I would ONLY be using exterior paint.
Note: I would usually paint the wall with a primer first, right after cleaning and before the design transfer, however it wasn’t necessary because the wall wasn't painted too long ago and it was in good shape.


Step 6 - Second coats
And third coats on some more special (annoying) colours.
Note: Not all colours take the same amount of painting coats.
Step 7 - outlining
I used paint markers to speed up the process instead of a paintbrush, however there were some tricky areas to get to, as there always are unplanned special areas with murals. I have learned to always add in extra time for these things that come up unexpectedly.


BEFORE AND AFTER BLACK OUTLINES


Step 8 - the finale
Little paint touch ups, add a signature, double check your final piece with your original design, remove tape, clean up well, take deep breaths, take a million photos…
TA-DAH!!
The mural is complete.


DETAILS


Thank you to Erica and Mrugesh for trusting me with your space and letting me bring this wall to life! It truly is a statement piece right when you walk in the door. And a special thank you to Lola, the dog, for being the cutest little supervisor who was so well behaved, she didn’t even think about messing up my paint station.

